How to set up an SPS Commerce Sales Channel [Step-by-step guide]
Last updated: October 12, 2026
To connect SPS Commerce, first create the Sales Channel connection, and then set up its parameters.
Once the connection is established between the channel and techOMS, you can use its supported features as listed in: techOMS Sales Channels - Master List [Guides List].
This article is divided into the following sections:
Onboarding Requirements
Create the Sales Channel
Configure Additional Parameters
Synchronization Behavior
NOTE: Make sure that you are operating under the correct Account in techOMS before starting.
I. ONBOARDING REQUIREMENTS
Before creating the Sales Channel, have the following available:
SPS Commerce account: Login credentials to authorize the Techdinamics application.
Installation URL: The SPS Commerce authorization URL provided by Techdinamics for your environment.
Trading Partner Id: The SPS trading partner identifier for the connection.
Warehouse identifiers: The external location identifiers needed to map the applicable techOMS warehouses.
NOTE: Use the installation URL provided by Techdinamics for your environment. A sandbox installation URL must not be used to configure a production connection.
II. CREATE THE SALES CHANNEL
To create an SPS Commerce Sales Channel:
Open the installation URL provided by Techdinamics.
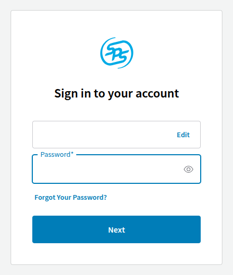
Log in to SPS Commerce.
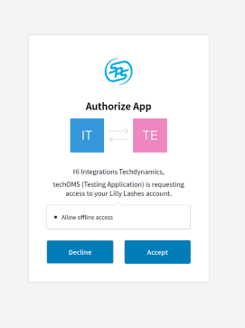
Authorize the Techdinamics application.
When redirected to techOMS, enter the Channel Name and click Save to create the connection.
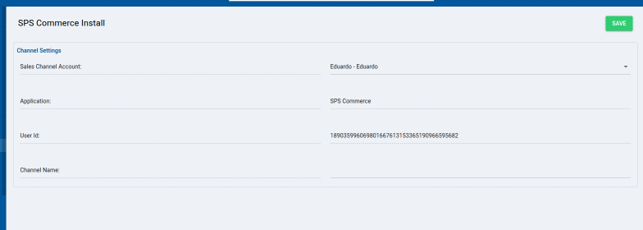
NOTE: The User Id is populated automatically during installation and identifies the SPS Commerce user associated with the connection.
Once created, proceed to the following section.
III. CONFIGURE ADDITIONAL PARAMETERS
To configure additional parameters:
Click Channels from the left menu under the Sales Channels section.
Click on the created channel's name.
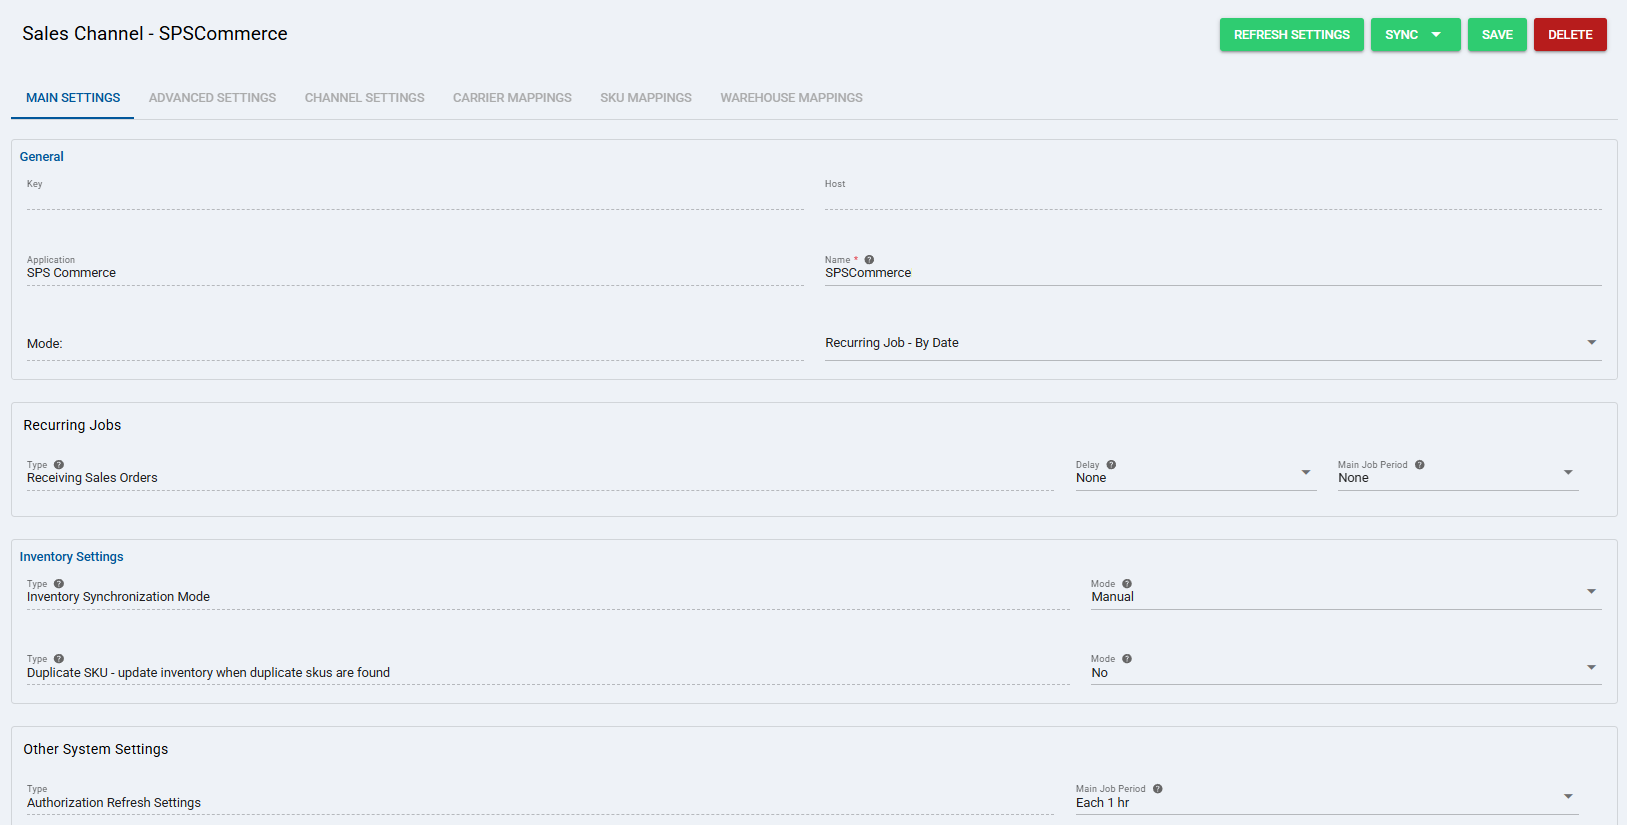
Use the highlighted areas in the screenshot below and configure the required settings.
SECTIONS
A) QUICK ACTIONS
Quick Actions lets you perform additional actions:
Health Check: Checks whether the channel can access the SPS Commerce outbound document area.
Sync: Enables manual synchronization as detailed in How to Synchronize data through a Sales Channel [Step-by-step guide].
Supported synchronization options:
Receive Sales Orders From Channel
Send Inventory Levels To Channel
Export Products To Channel
Save: Saves and commits changes.
Delete: Deletes the channel connection.
NOTE: SPS Commerce supports product export from techOMS. Importing products from SPS Commerce is not supported.
B) VIEW SELECTION
View Selection allows you to navigate the different tabs:
Main settings (default): Configures general and automation behavior using Main Settings of a Beta Sales Channel [Information].
Advanced settings: Configures additional system and privacy settings using How to manage Sales Channels Advanced settings [Step-by-Step guide].
Channel settings: Sets the SPS Commerce integration parameters listed below.
NOTE: The fields displayed in this section are dynamic. Based on your previous selections and the inherent capabilities of the channel, certain fields may be hidden, disabled, or cascaded.
Channel Settings
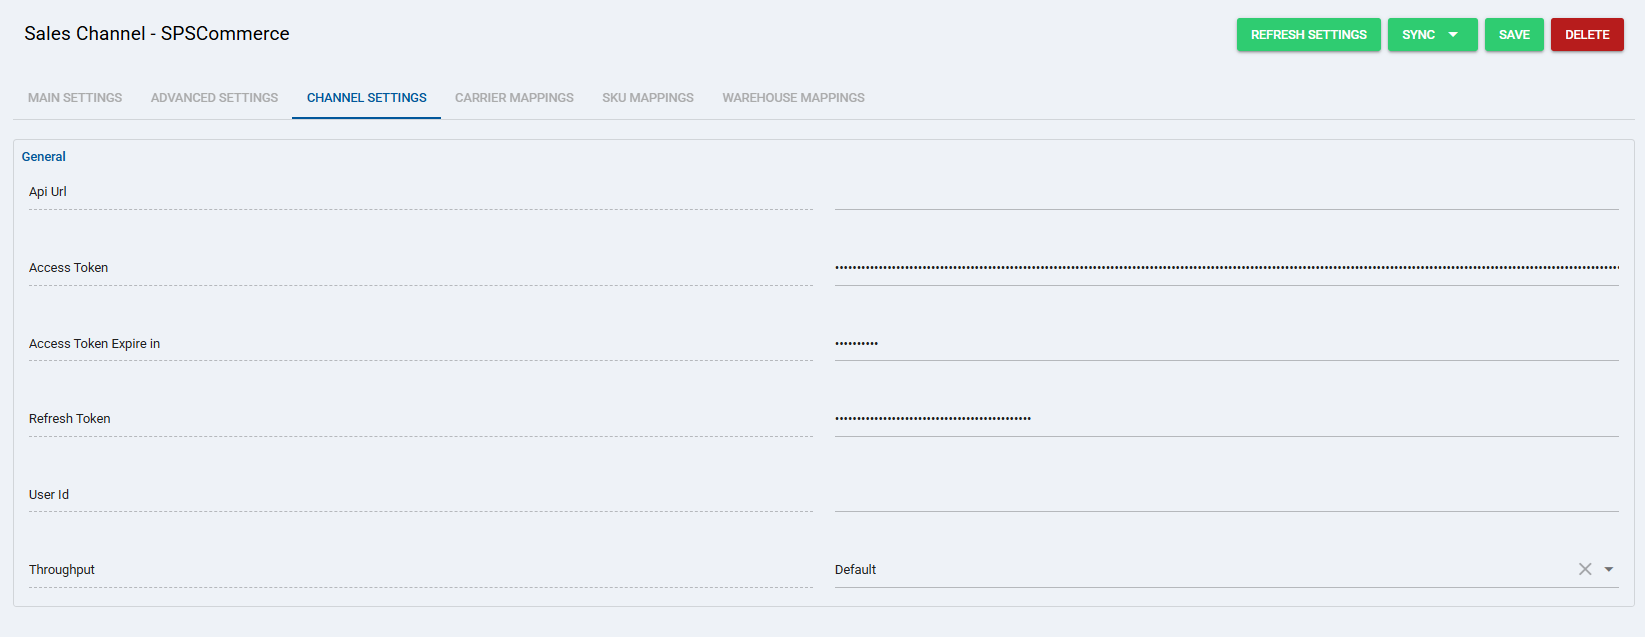
Api Url: Uses
https://api.spscommerce.com/transactions/v5/data/as the default SPS Commerce transaction endpoint.Trading Partner Id: Enter the identifier of the trading partner associated with this connection. The channel uses this value to select incoming orders and identify the trading partner in outgoing product, inventory, and shipment documents.
WARNING: Enter the Trading Partner Id exactly as defined in SPS Commerce. Incoming orders with a different trading partner identifier are not imported.
Refresh Token: The authorization credential used to obtain access to SPS Commerce through OAuth. It is associated with the authorization completed during installation.
User Id: Identifies the SPS Commerce user associated with the installation. This value is populated automatically during channel creation.
Throughput: Keep Default, the available setting used to control the channel's request rate.
Mappings
Carrier Mappings: Sets carrier name mappings as detailed in How to map Carriers in a Sales Channel [Step-by-step guide].
SKU Mappings: Reviews and sets SKU mappings as detailed in How to map SKUs in a Sales Channel [Step-by-step guide].
Warehouse Mappings: Links techOMS warehouses to the corresponding external location identifiers in SPS Commerce.
WARNING: Configure Warehouse Mappings for the locations included in inventory synchronization. Inventory from warehouses without a mapping is excluded. Incoming orders containing a warehouse address are also excluded when its external location identifier has no matching warehouse mapping.
C) CONTENT VIEW
Content View displays and/or allows editing of the settings selected in View Selection.
WARNING: Remember to press Save to commit the changes made in this section.
IV. SYNCHRONIZATION BEHAVIOR
Sales Orders and Shipments
SPS Commerce supports receiving sales orders by date range or purchase order number.
Shipment updates sent from techOMS provide shipment information for existing orders, including carrier, service, and tracking information when available. They do not create new sales orders in SPS Commerce.
NOTE: Shipment updates are sent for orders in Fulfilling or Shipped status and include shipments in Shipped or Short Shipped status.
Products and Inventory
Products and inventory levels are exported from techOMS to SPS Commerce using ItemRegistry XML documents.
Product export sends product variant information.
Inventory synchronization sends quantities by SKU and mapped warehouse location.
NOTE: Inventory synchronization sends inventory levels. Sending inventory adjustments is not supported.
Automation
The channel supports Recurring Jobs. Webhooks are not supported.
To configure scheduled synchronization, follow How to configure Recurring Jobs for Sales/Fulfillment channel Automation [Step-by-step guide].